
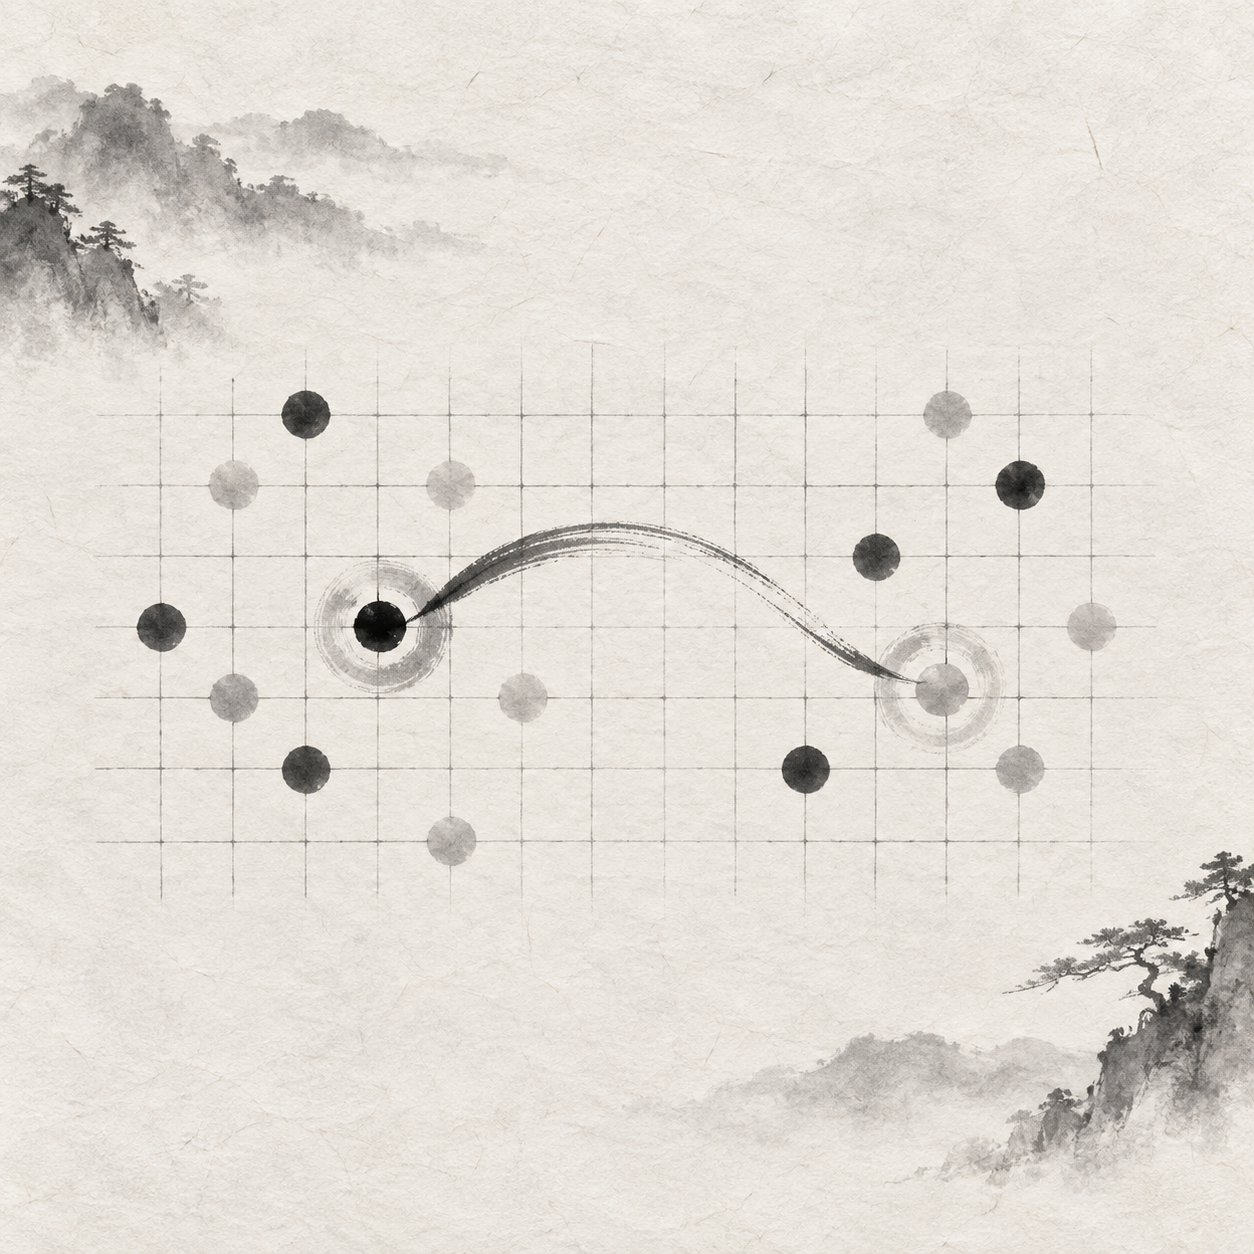
It’s your turn, and you have two places in mind. Do you put down the first stone before deciding where the second should go? That habit can be especially disorienting when you move from Gomoku to Connect6. The two placements belong to one decision: how will they build your line, and what opportunities will they leave your opponent?
A turn is not a single placement
Connect6 is a game related to, but distinct from, Gomoku. Black goes first and places just one stone on the opening turn. White then places two; from that point on, Black and White alternate placing two stones each turn, on different empty intersections. A turn is one player’s complete action. Putting down a stone is only one placement within it.
The goal changes, too: you win by making a straight line of six or more stones, horizontally, vertically or diagonally. For the rules, see Sensei’s Library’s Connect6 entry. If one placement completes a winning line, the game ends immediately; you do not need to place the remaining stone.
When you’re starting out, try circling two empty intersections on paper before placing either stone. Then look at the board as it would stand after your whole turn. The stones might extend one line together, or attend to separate areas. Even if the first placement looks appealing, ask whether you like the position after the second. Decide on the pair before you play.
Treat two placements as one choice
Imagine that you have a line you can extend while your opponent is developing another area. One candidate pair uses both stones to advance your line. Another addresses your opponent’s direction first, then leaves a point from which your line can continue. Compare the dangers after each complete turn, then ask where you could play next turn. Don’t judge either pair by its more eye-catching stone alone.
Give each candidate pair a one-sentence purpose, such as “address the immediate threat while keeping room to extend.” Then check both points. Does the defensive placement actually affect the line you’re worried about? Are there empty intersections near the point you hope to build from? If you can’t explain the second stone’s job, pause and consider another pair.
Above all, don’t let your opponent take an imaginary turn between your stones: “I’ll play here, they’ll block, and then I’ll play there.” Your opponent has no chance to act between your two placements. You can reassess the board after the first stone, but your opponent responds only when your turn is over. Remove that imagined intervention, and the choice of a pair becomes clearer.
Count what your opponent can do next
On defense, don’t watch only your opponent’s longest line. They will usually have two stones to place next turn. After you occupy one empty intersection, another line may still be able to grow. First mark the empty points where your opponent might complete six, then see which of them your candidate pair covers. If there is no immediate win to stop, check what pressure their two stones could create.
When you see two threats, ask whether they share a crucial empty point. If they do, one defensive placement may affect both lines. If each requires a different point, ask whether your two stones can cover them separately. Even if they can, scan the whole board again for an overlooked way to make six. The number of threats alone won’t tell you how the exchange ends.
First check whether you can make six this turn with one or two stones. If you can’t, and one defensive placement handles the most urgent threat, compare using your second stone to reinforce the defense with using it to extend your line. Which empty points does each choice leave your opponent? This is a conditional way to choose placements; if the defensive point isn’t enough, reconsider the entire pair.
Place both stones, then study the position you leave your opponent.
Don’t borrow Gomoku’s instincts
Familiar Gomoku terms such as open three and double-three may prompt you to examine a direction, but they cannot settle a Connect6 position for you. Here the target is six or more, and your opponent also gets two placements on an ordinary turn. Start with whose turn it is, then check whether one or two stones can complete six now. If not, test the lines you create against what both players can do on their next turns.
For example, if it’s your turn and your five-stone line has an available empty point at one end, completing six ends the game immediately. If an open-ended five-stone line belongs to your opponent and you must defend, check both ends and any other empty points where they could make six before allocating your placements. The shape may look the same, but whose turn it is changes what you need to do.
Does one fewer opening stone make the game fair?
Black places just one stone on the opening turn; thereafter, each player places two on alternating turns. If the game has not ended, the player who has just completed an ordinary two-stone turn has one more stone on the board. When the other player finishes a turn, that count reverses. This rhythm offers a starting point for discussing first-player balance. Similar stone counts, however, do not by themselves establish equal chances of winning.
In a September 2005 Connect6 tournament proposal, I-Chen Wu argued for the fairness of the rules and recorded observations from play at the time. The proposal captures an assessment of the game’s balance at that point. When reading its claims, distinguish the author’s argument and those observations from a game-theoretic proof of a draw.
Practice attack and defense with one pair
For a practice game, choose a position in which it’s your turn to place two stones. First check whether one or both can complete six this turn. If so, play the winning move. If not, look for your opponent’s chances to make six next turn. Identify the most urgent threat and one of your own lines that still has room to grow. Before placing a stone, write down two possible points together.
Now compare three candidate pairs: two stones for defense, two for development, and one for each. Picture the board after each complete turn. Could your opponent make six with one stone, or with two working together? Does the defensive pair still miss a danger? Does the development pair leave an empty point that demands an urgent response? Is the mixed pair’s defensive point sufficient? Whenever you spot an omission, revise the whole pair.
Finally, choose a pair, mark both placements and write a brief reason: “Address this line first, while leaving room to extend on that side.” Once you’ve played, test your judgment against your opponent’s full two-stone turn. Repeat when your turn comes around again, noting the empty points you most often overlook.